

Here is my latest project. I didn't use a pattern so I will try to explain how I did it. At the bottom of the post I will show links to different tutorials that have helped me.
 I used the same bodice pattern for this dress that I made for the sheet dress only shorter. All you do to make this is find a dress with a bodice that you like, lay it out on a large sheet of paper or plastic, trace it, and then cut it out leaving yourself a 5/8" seam allowance. I cut the back exactly the same as the front. I wanted it lined and the seams not to show so in actuality I cut 4 of the same pattern. Does that make sense? :) Two for the front panel, and two for the back.
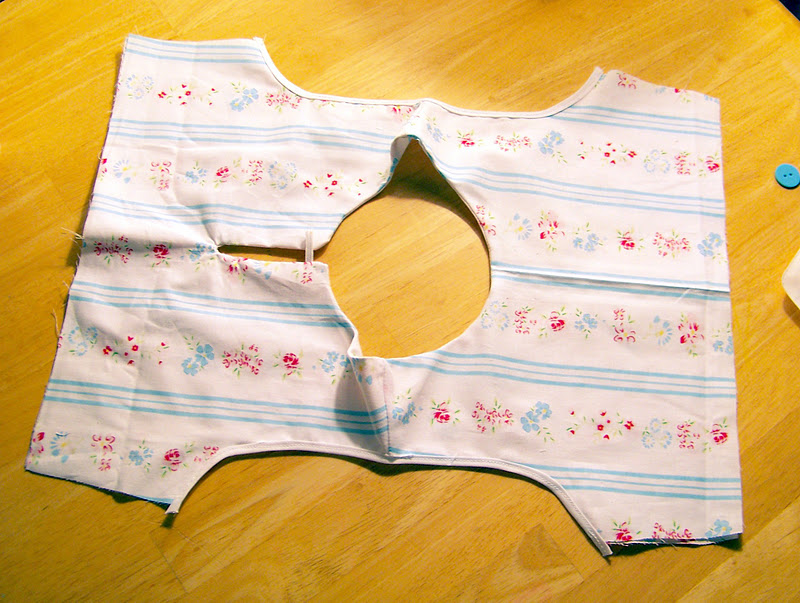
 For the front ruffle, I simple cut a 4" wide strip of fabric and hemmed the edges. You can serge them if you want to do it faster. Then change your stitch length longer. Run a stitch down the center of the fabric (don't back stitch of either end). To ruffle your fabric, hold onto the back thread and scoot the fabric down. I hope that makes sense.
  Then attach this to the front of the bodice, trim off the excess and sew on the buttons. I chose high contrast fabrics because I like that look but I think monotones would be just as beautiful. I found this fabric on a clearance sale. I got 2 yards for $3.25. I love the turquoise with the red. I added a band of red to the bottom of the bodice and skirt to tie it all together.
For the skirt, I simply made a wide tube, pleated it, and sewed it onto the bodice. Don't forget to overcast or serge the inside seams so that you don't get a lot of fraying when it's washed.


http://www.craftinessisnotoptional.com/2011/01/anthropologie-dress-knock-off-tutorial.html
http://fromanigloo.blogspot.com/2010/04/bubblegum-jumper-tutorial.html
No comments:
Post a Comment